In this work record, I wanted to produce a time lapse video. I will do this on my Go-Pro Hero 8 as my Canon Camera does not have a video setting. To edit and refine the footage, I have Adobe Premiere Pro CC 2018, and to upload the video, I have uploaded it into youtube and attached the link below. My footage was taken during my day trip to Holkam and captures a winter sunset.
To capture the timelapse, the Go-Pro was set to a frame rate of 29.97 FPS. It was placed on a tripod and left for around two hours. In this time, it captured many birds, fishermen and their boats, dog walkers and a Seal, as well as the changing of colours produced from the setting of the sun. The footage was shot in RAW format to enable me to have greater control over the editing process.
In order to edit this footage, the RAW files were placed into Adobe Premiere Pro, a timeline based editing software that allows files such as timelapse to be edited in a similar way to how a photo would be edited and processed within Adobe Lightroom or Adobe Photoshop.
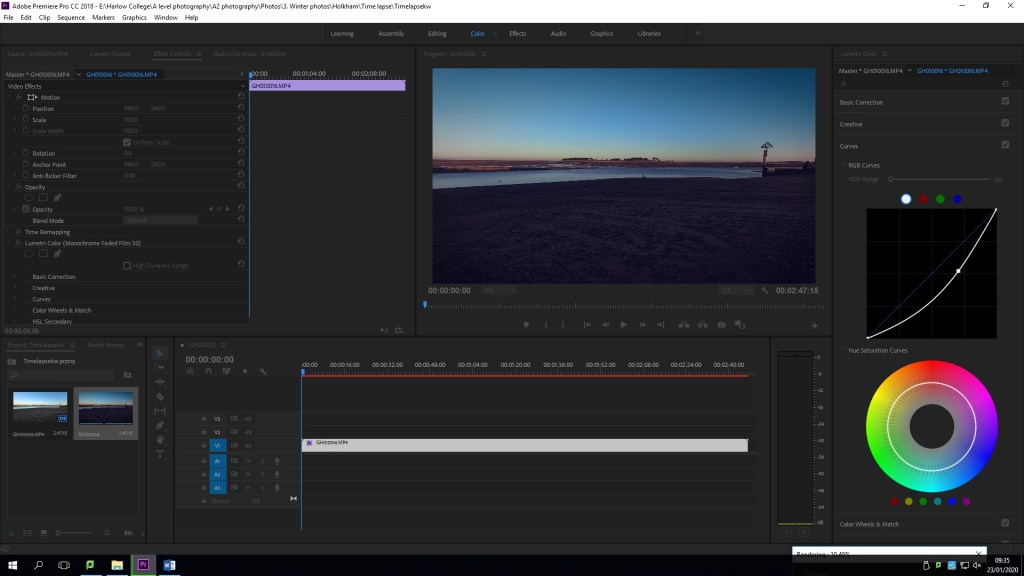
pictured above, is a frame of what the original footage looked like before editing, the original RAW format.Pictured above, is the customisable layout of Premiere Pro. On the top left, you can view and alter the different layers, masks and filters that are being placed into the footage. Below that is the footage selection box where different files can be added to the editing process. To the right of the selection box, is the timelines. this is where each layer can be viewed, audio files can be added over the top of the visual footage and new files can be blended in. in the top right is where the footage can be viewed as it is being edited. Each box can be made bigger or smaller depending on what is needed at that particular time.
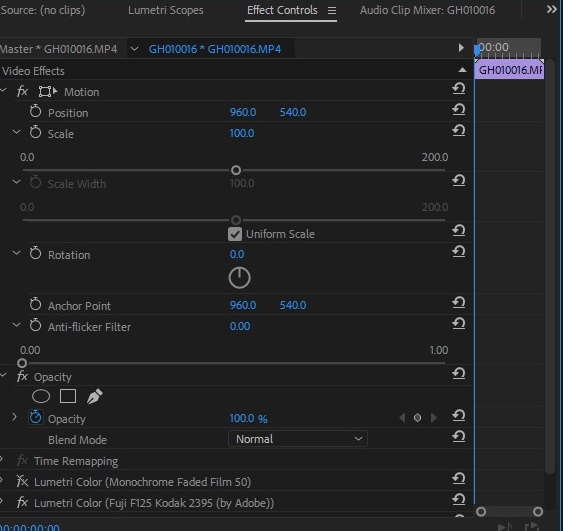
The above image shows the first few alterations of the video footage that I gathered. It shows the different layers that I created in order to create the best edit. This program allowed me to make different alterations, then hide that layer, to see the difference or to take the layer off if I didn’t like what i have changed, without deleting it completely.
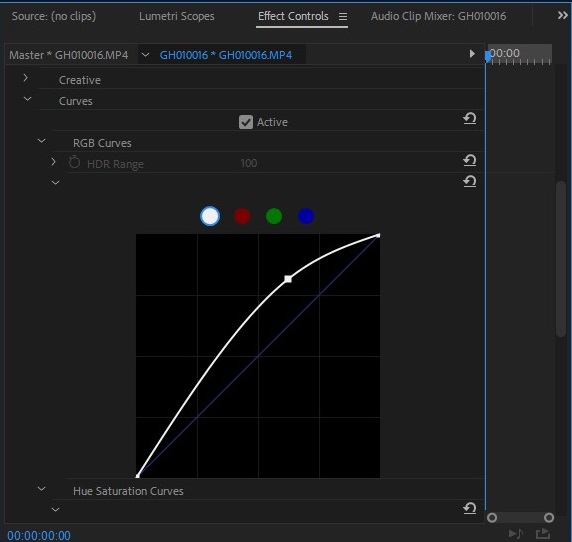
I altered the curves to emphasise the colours that were produced within the sunset.
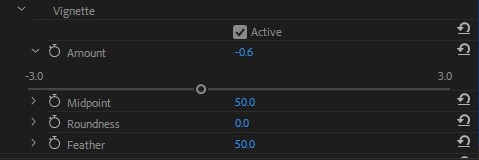
Here, it is shown how I created a vignette on my footage. this draws the eyes into the middle of the screen instead of everything that is around the edges.