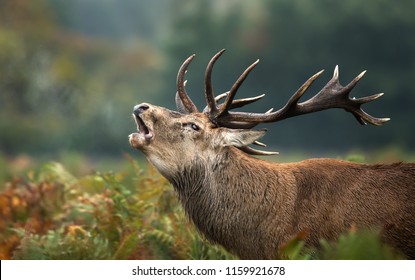
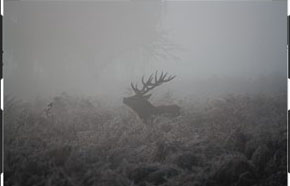
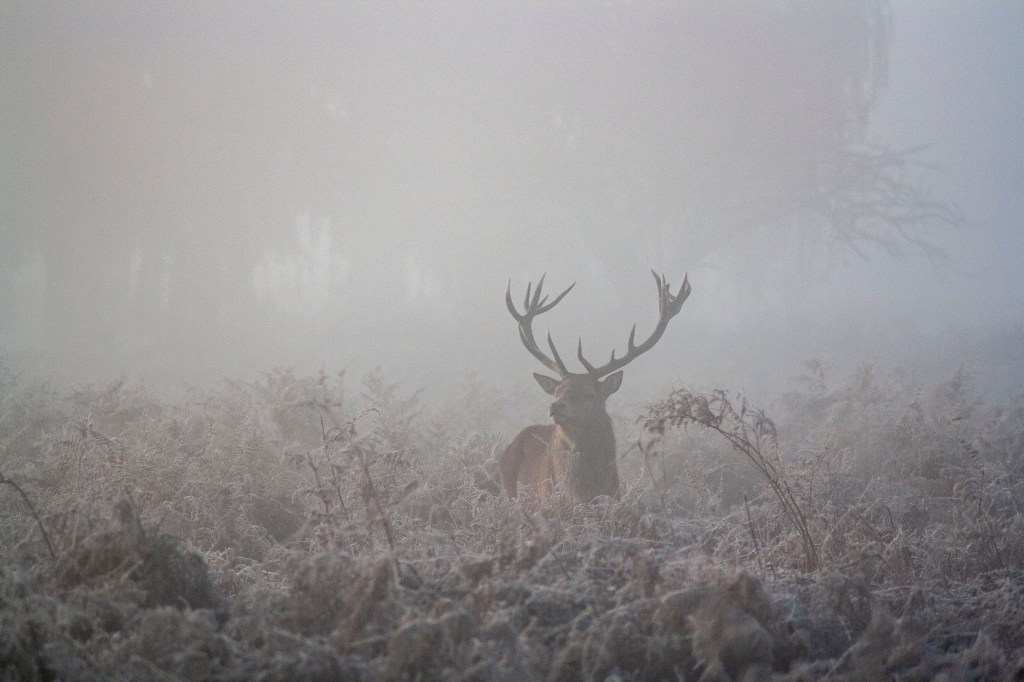
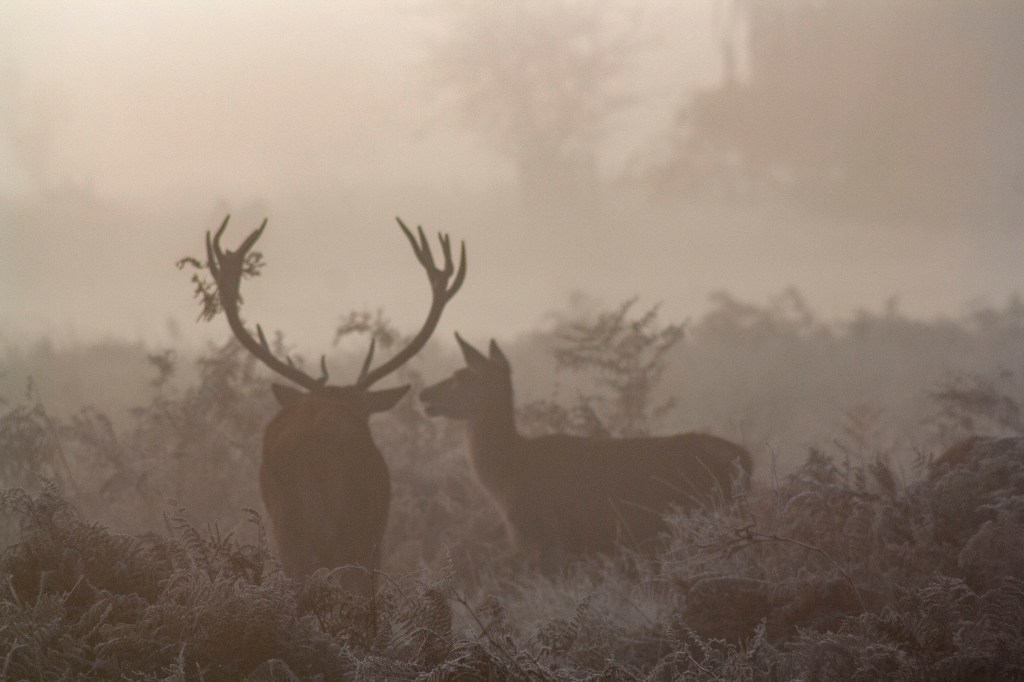
In this work record I would like to explore the wildlife found within Bushy Park, London. The main focus is the deer, during the autumn season. During this shoot, I plan to use a Macro lens and a telephoto (zoom) lens with my Canon EOS 1000D camera.
Research influences
This image has influenced me because of the neutral tones. from previous work, I think that my style is quite similar to this photographer and I think that when I shoot, I will try to compose my images like this as I have seen a few examples that look just as good.
i like this image because unlike the others, the colours have not been over altered. they have been left in what could be their natural form. After seeing this image, I am excited to see whether It is possible for a beginner photographer like me to capture something of similar style in my own work.
My photographs
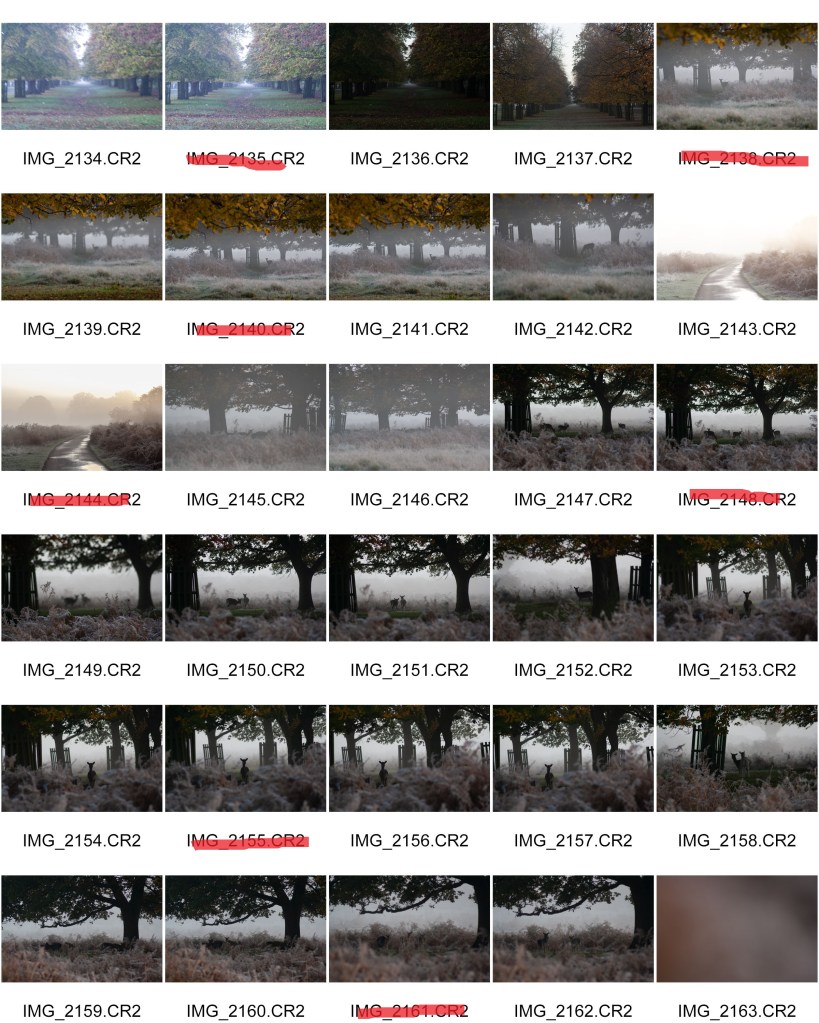
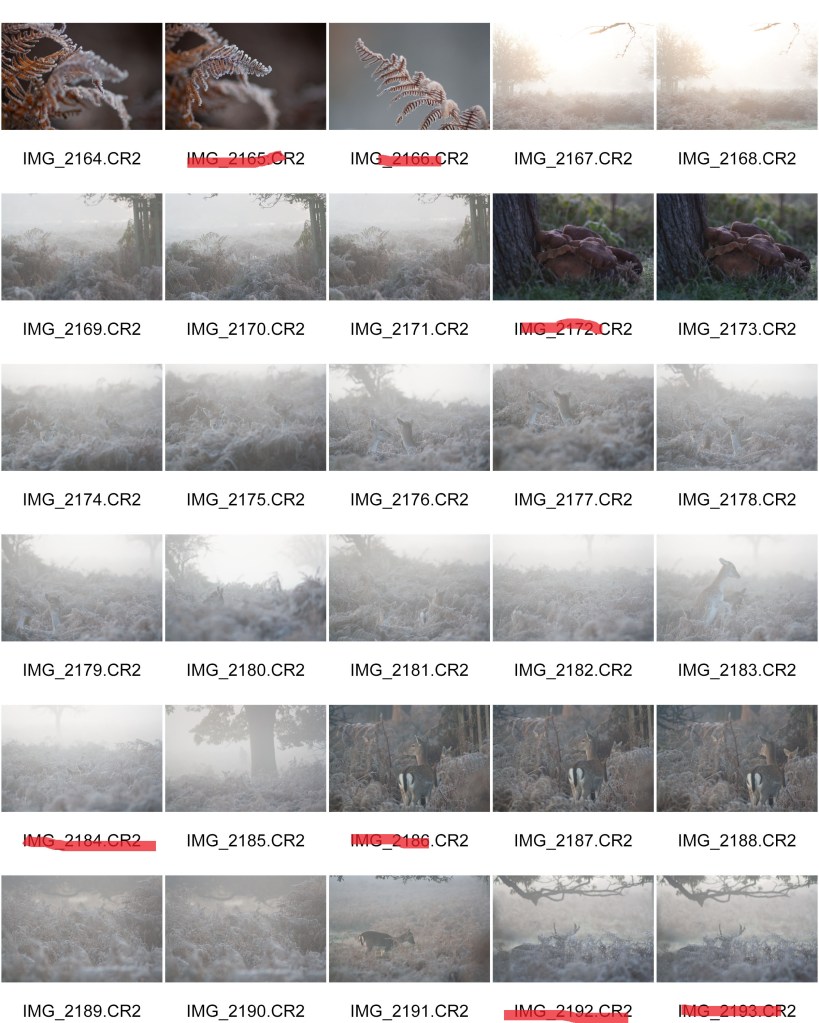
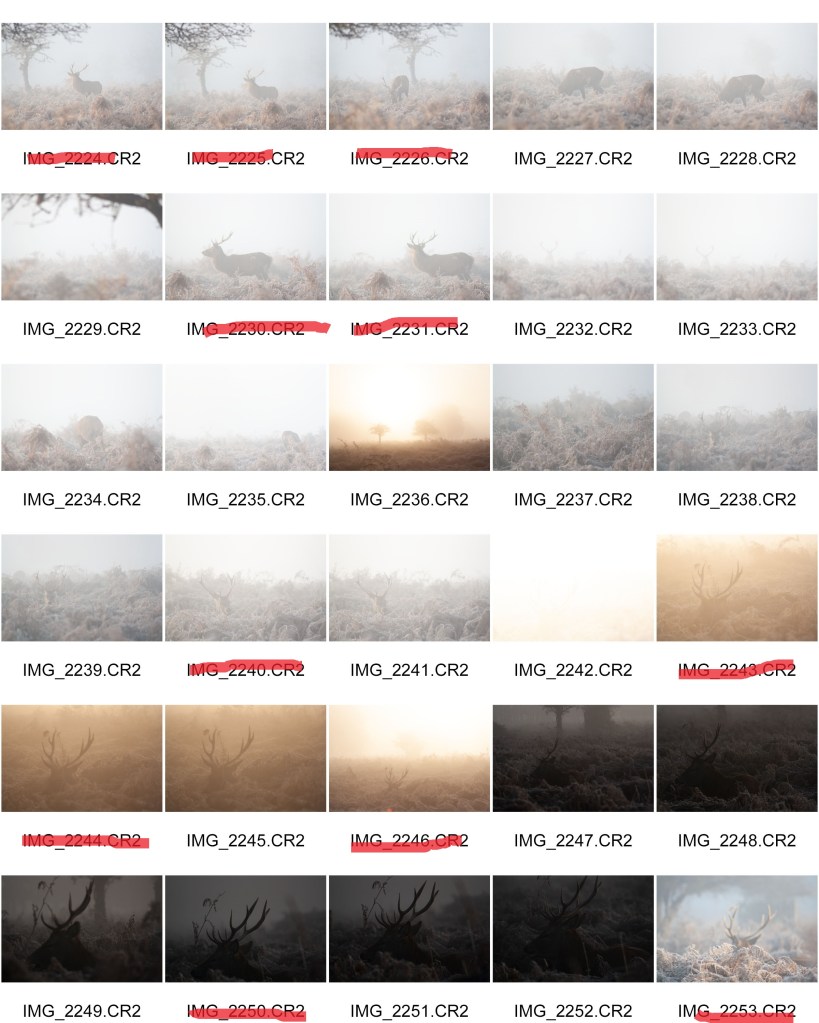
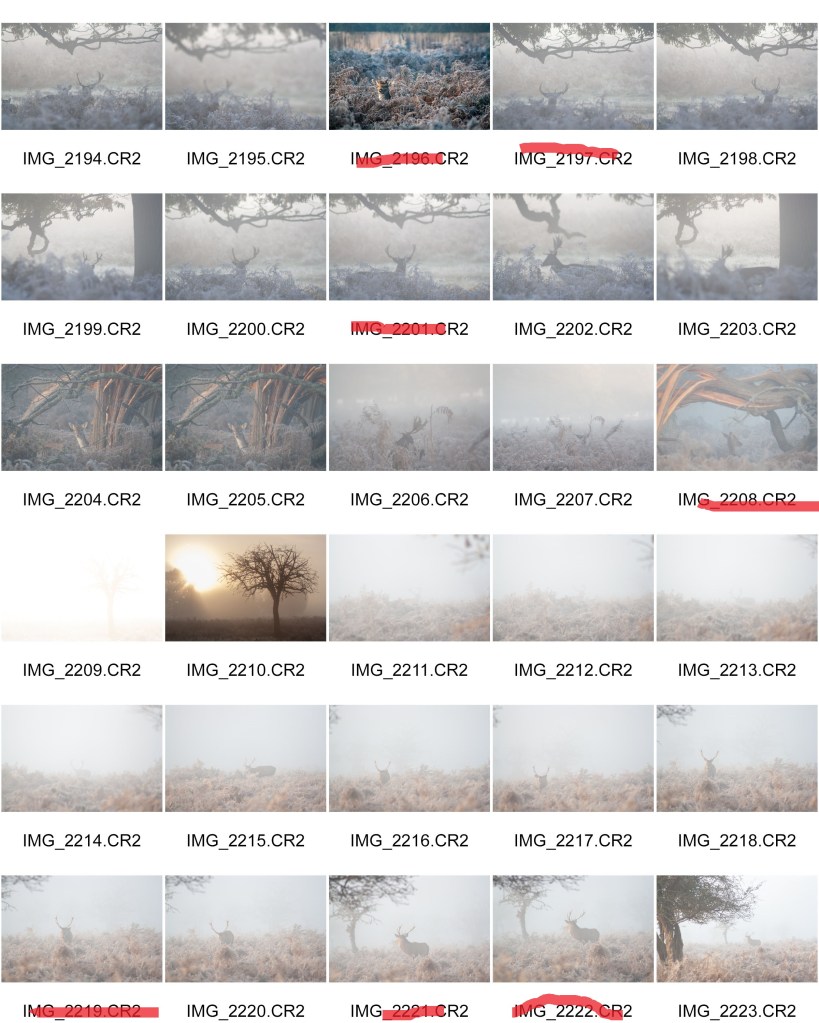
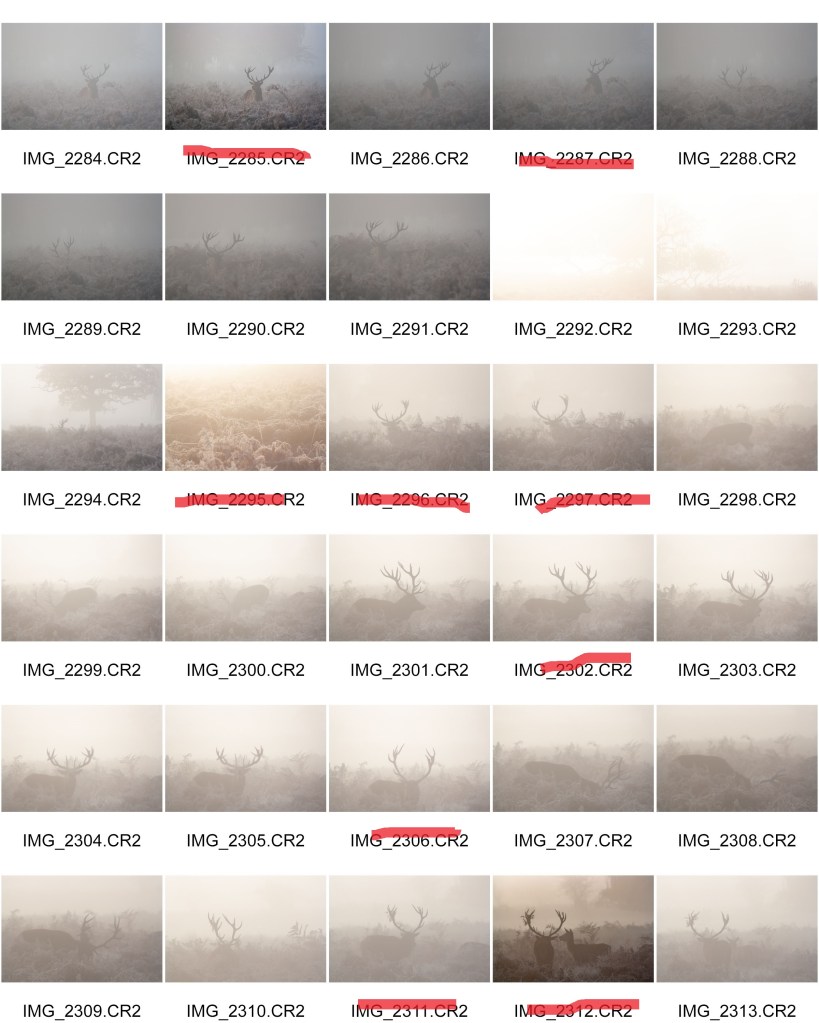
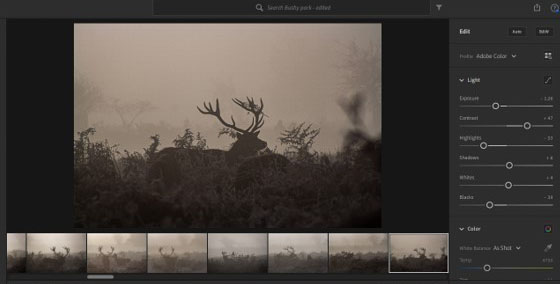
Contact sheets
My best images
As i am shooting all of my photos in RAW format, all of my images need improvement. However, after the editing stage, the are images that i preferred are highlighted on the contact sheets.
Images that require improvement
AO3
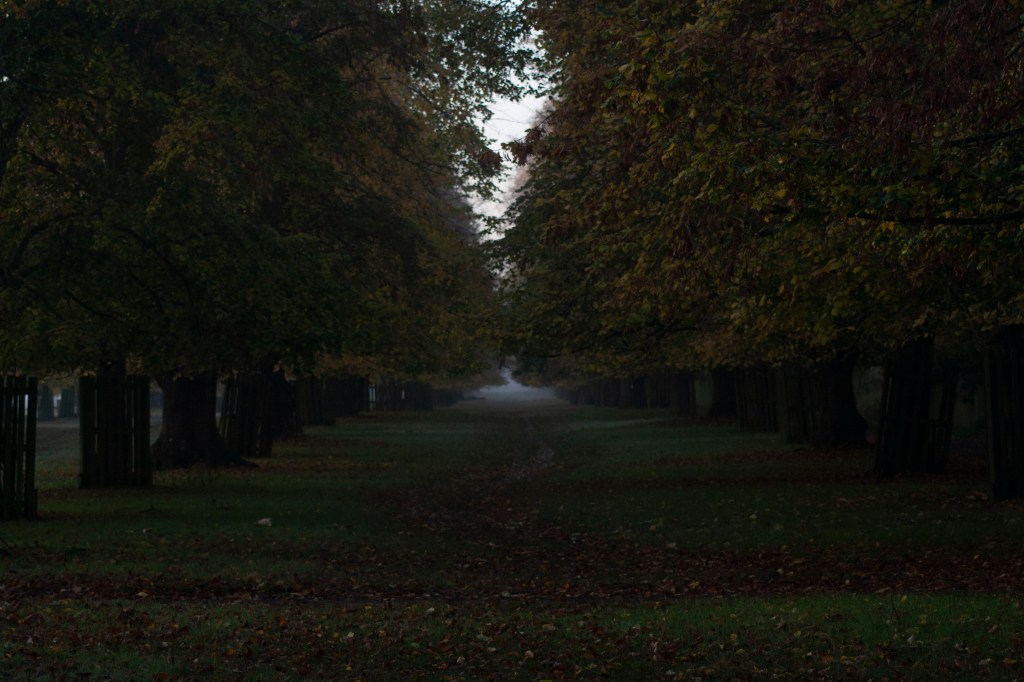
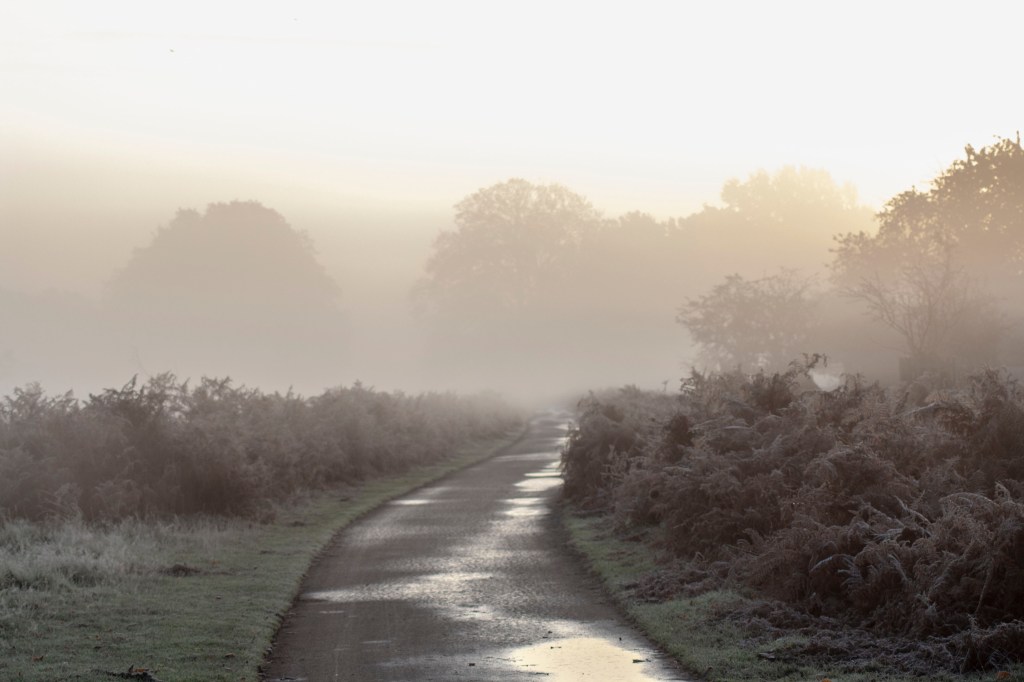
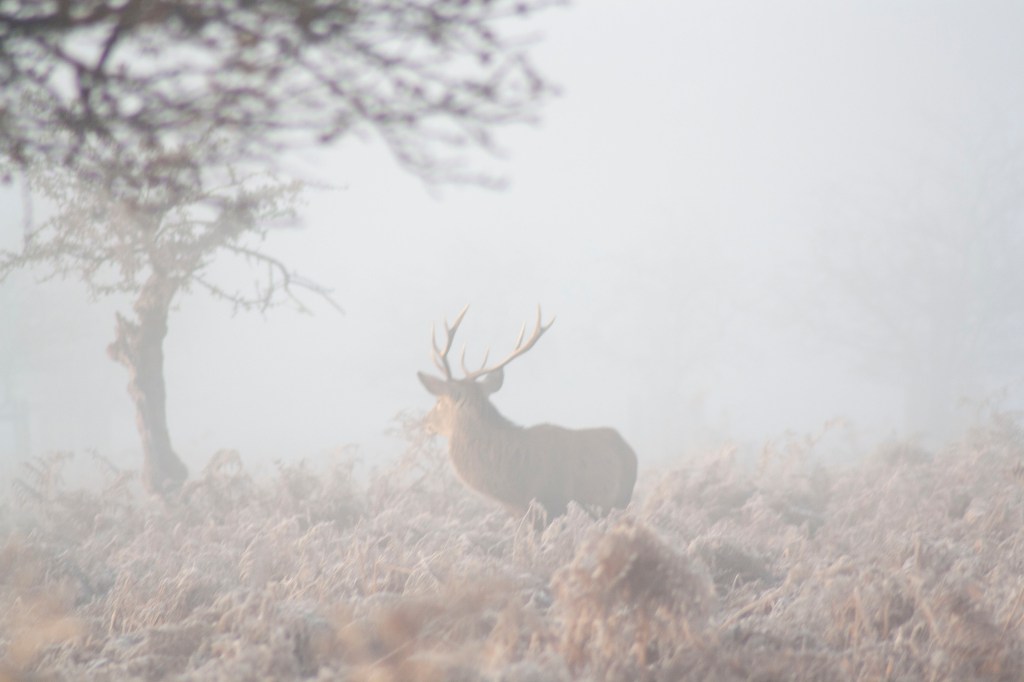
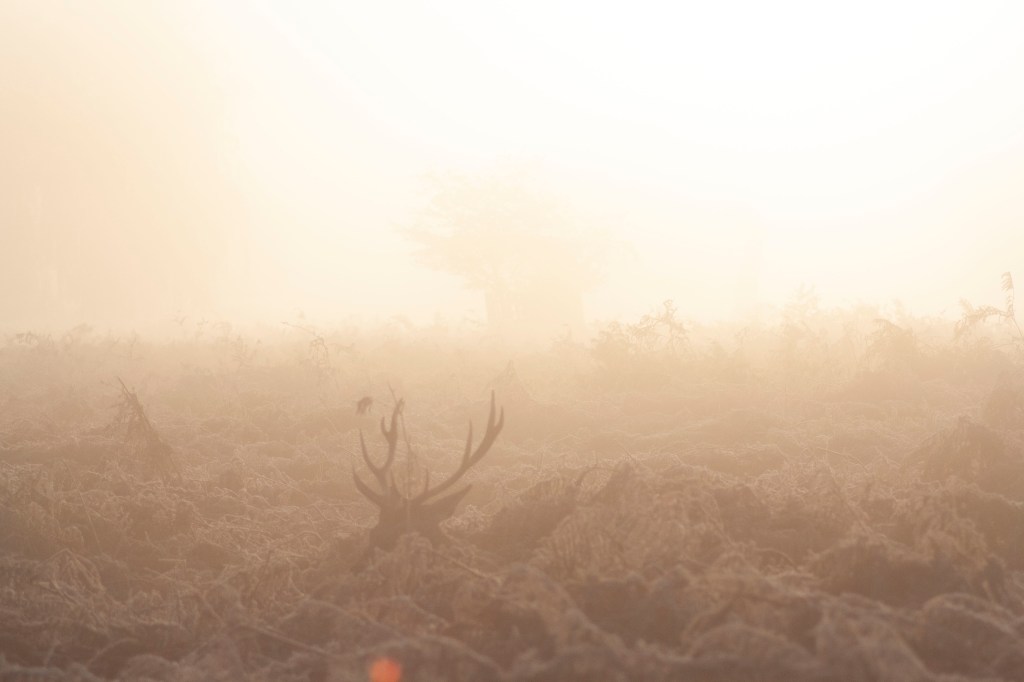
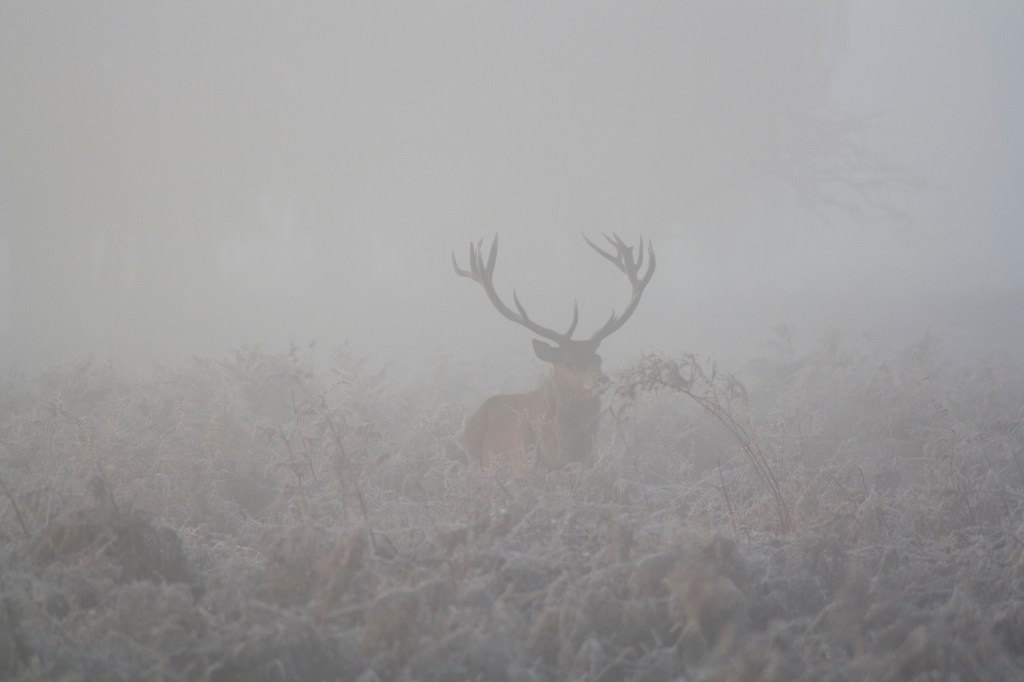
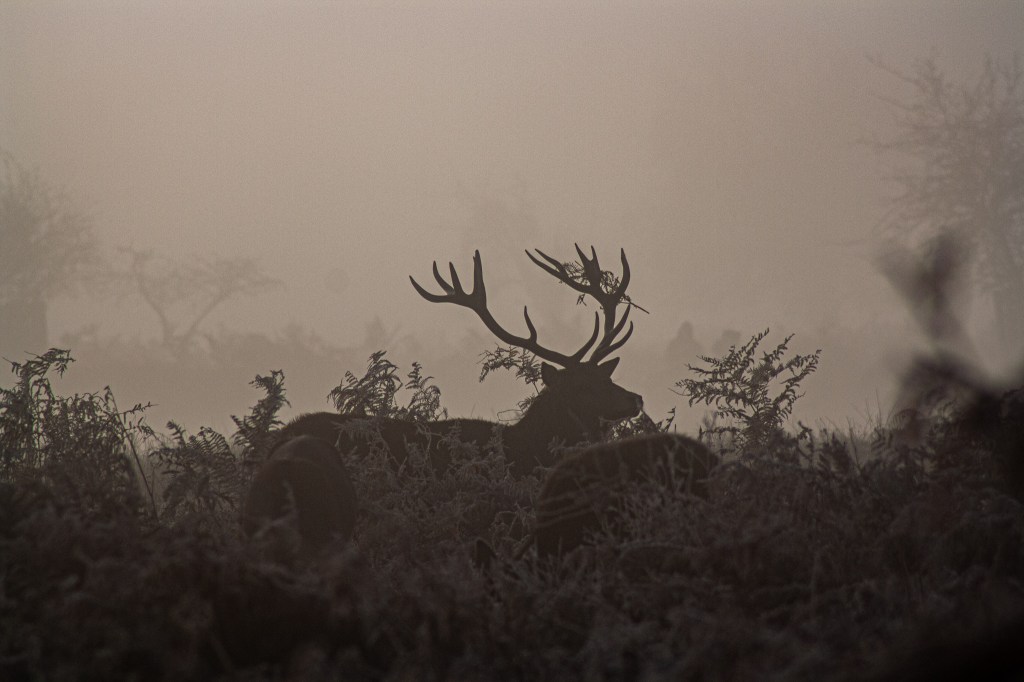
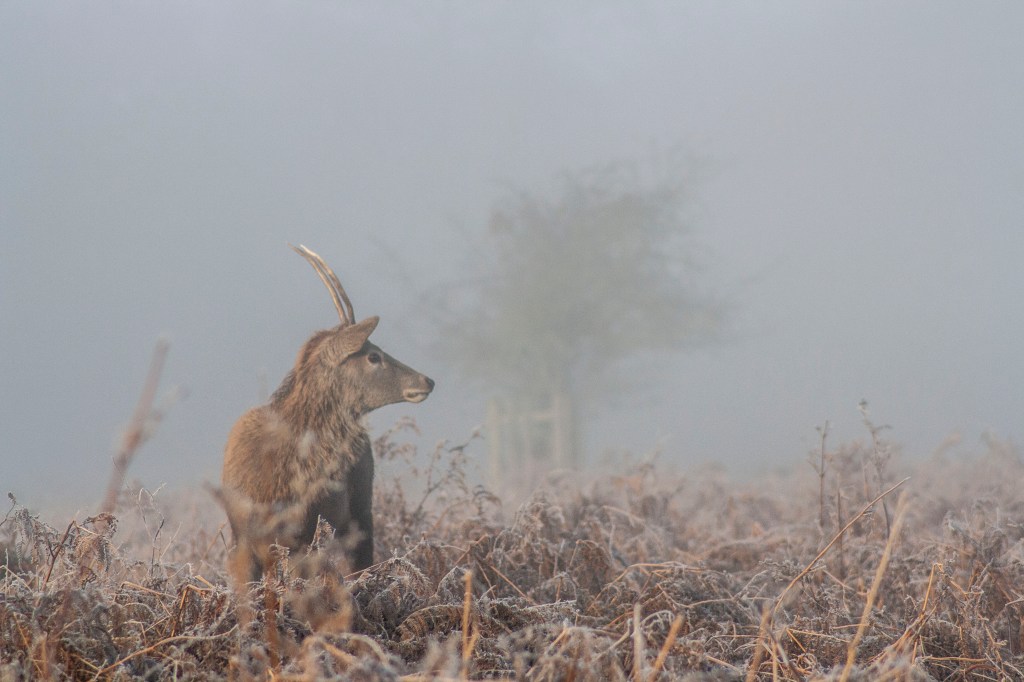
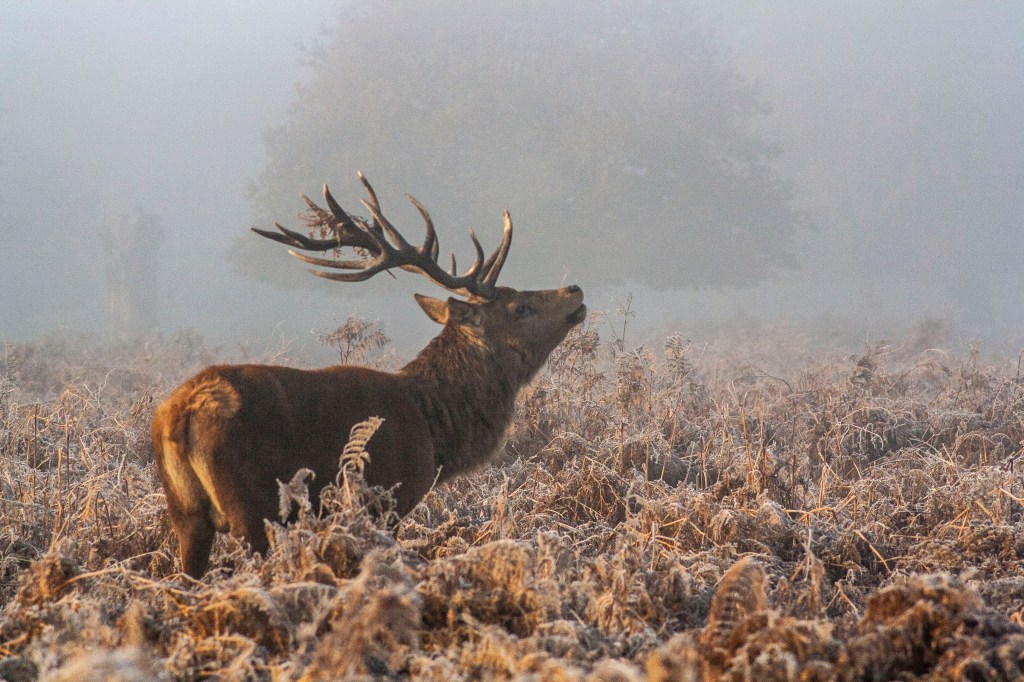
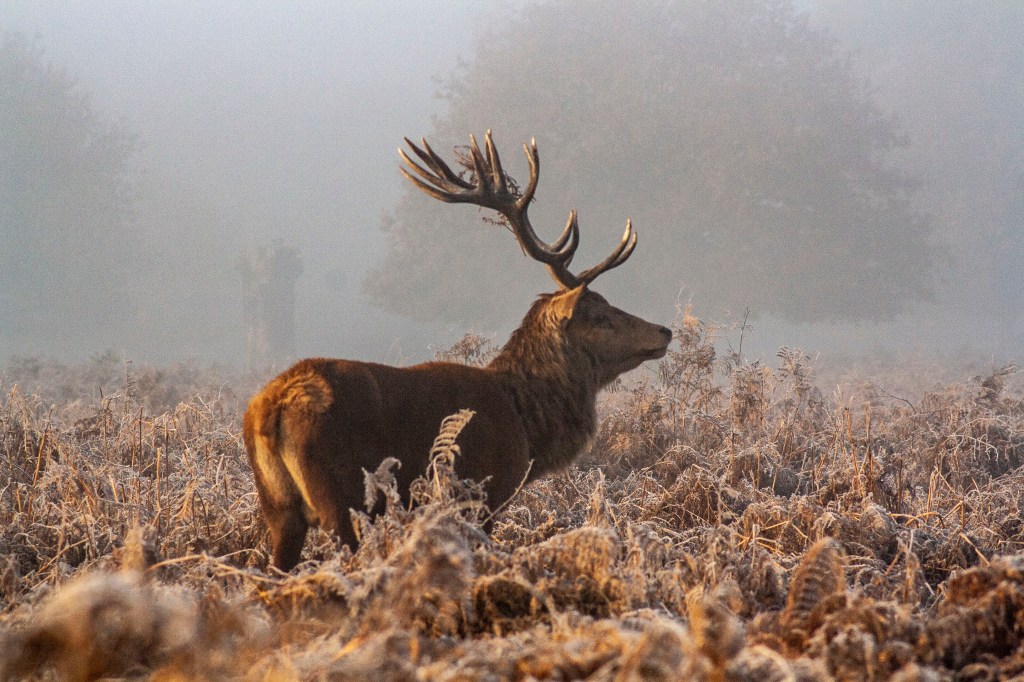
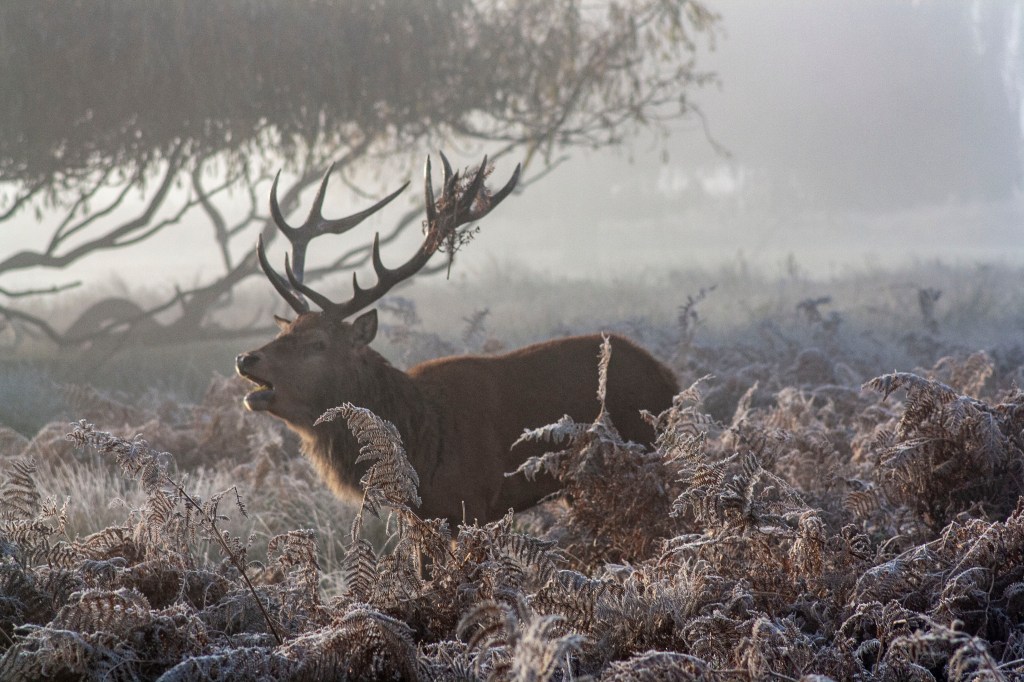
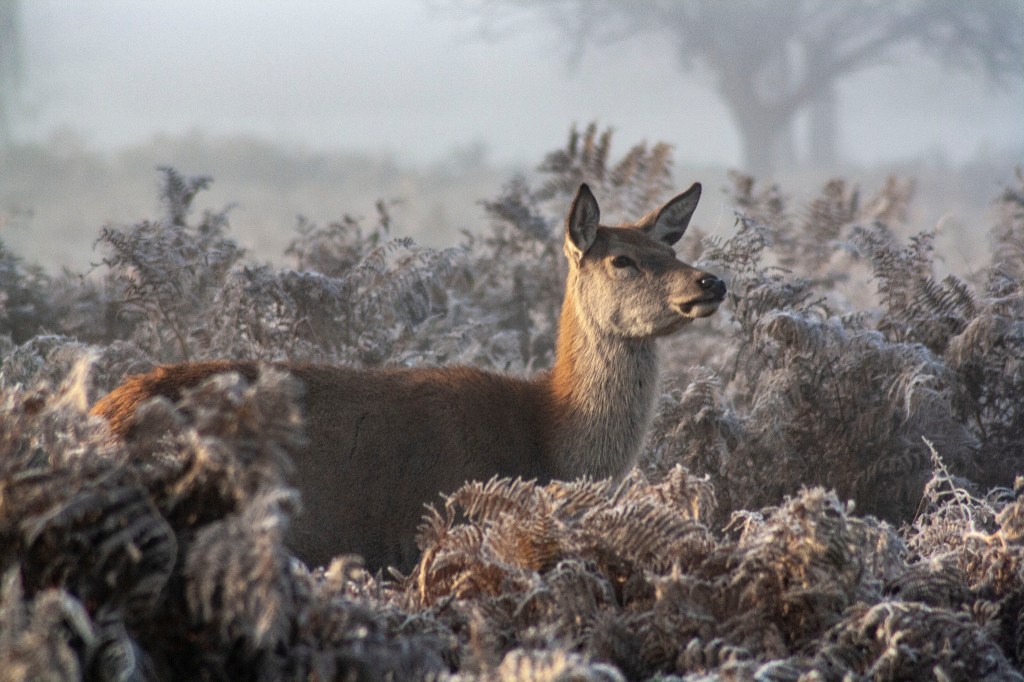
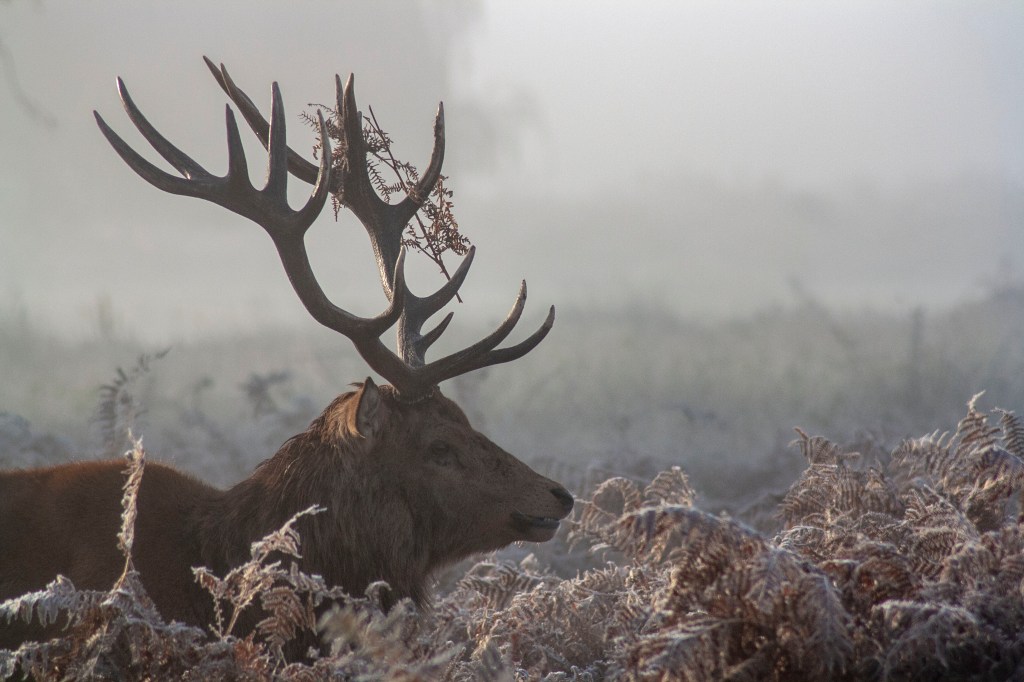
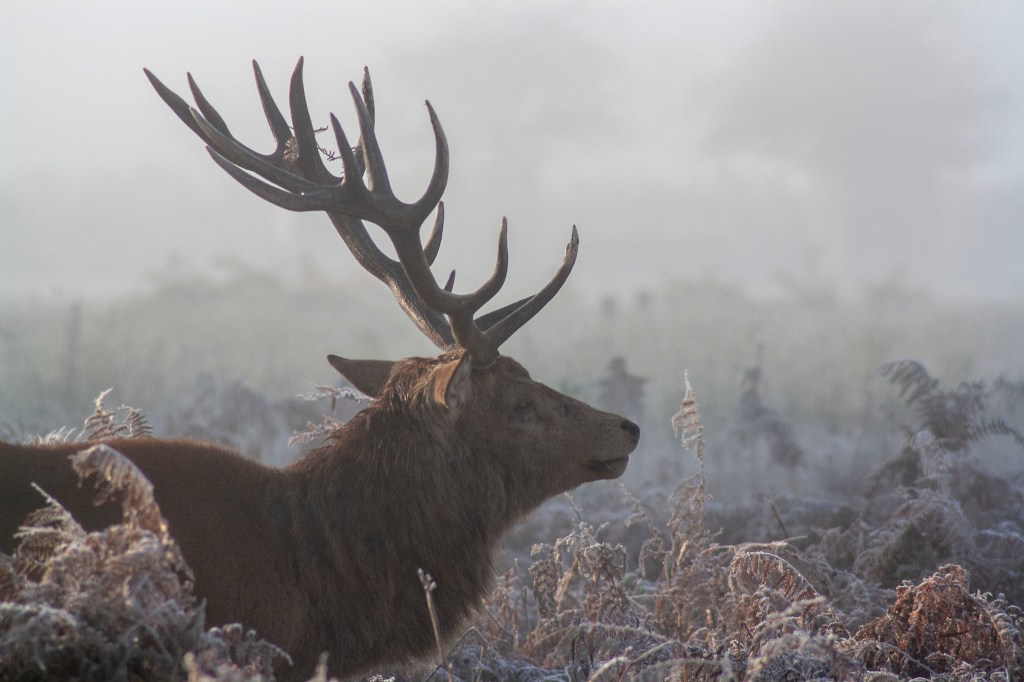
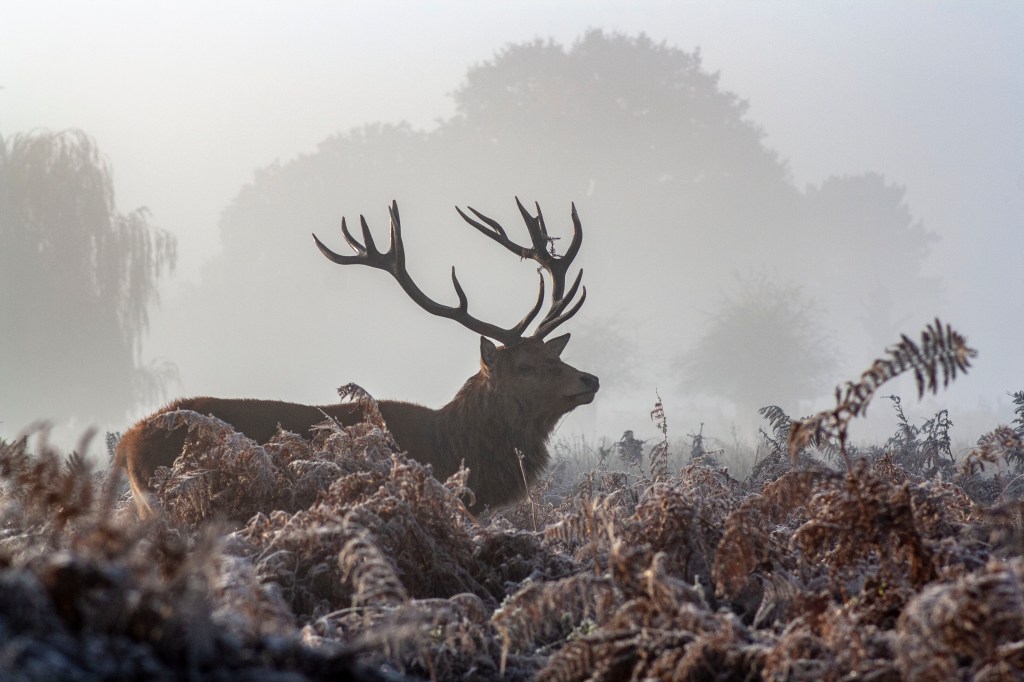
My idea for recording the changing of seasons was to photograph the Deer within a typical autumn morning, foggy, misty, and frosty, within Bushy park in London.
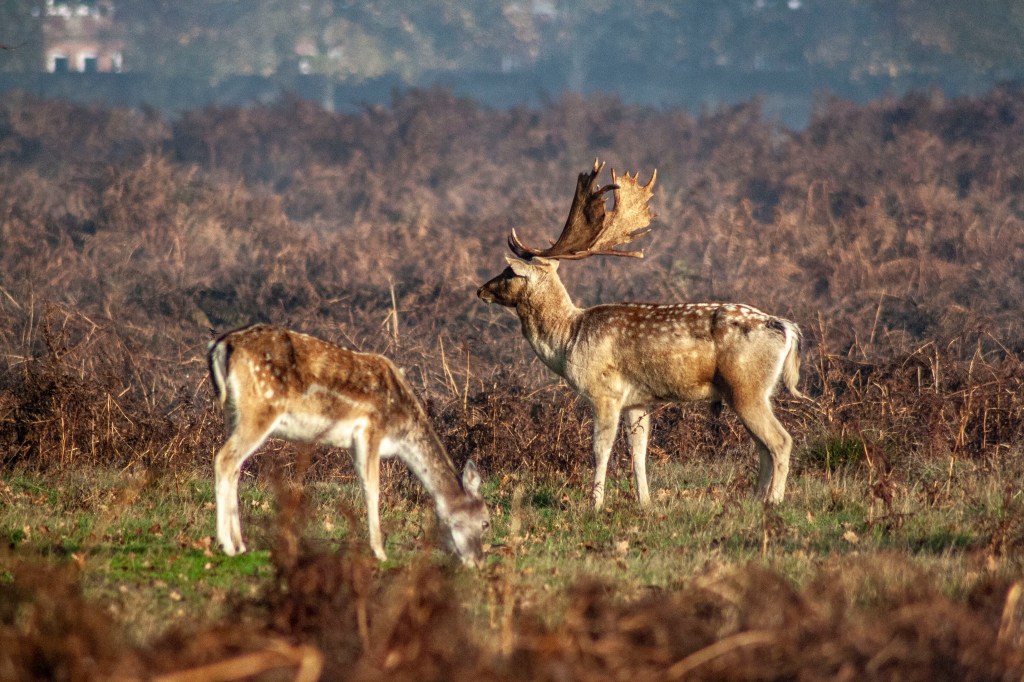
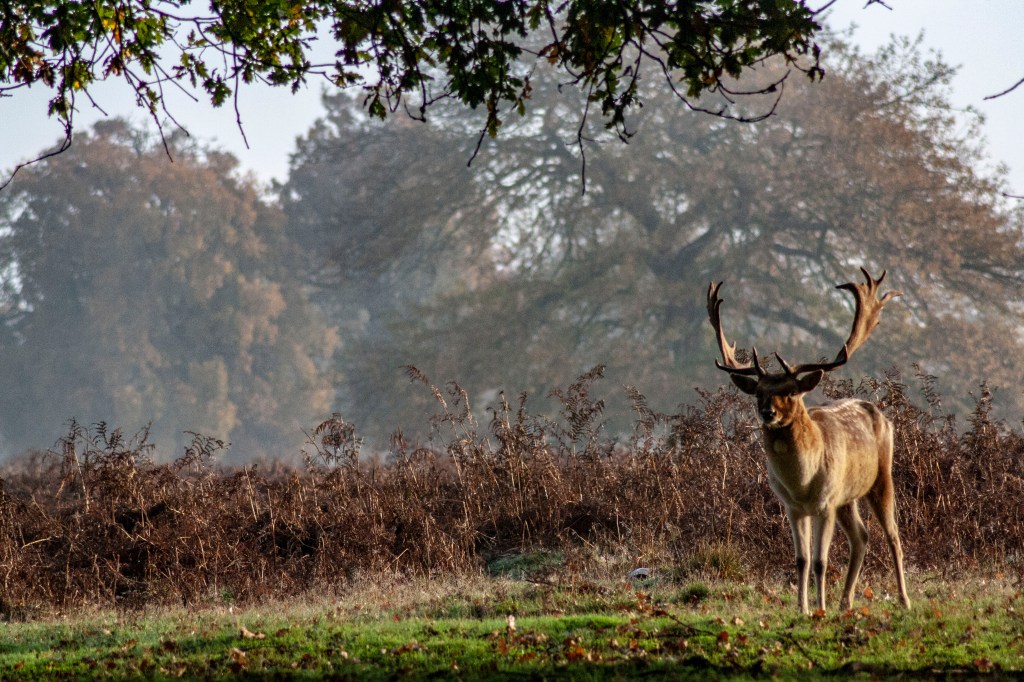
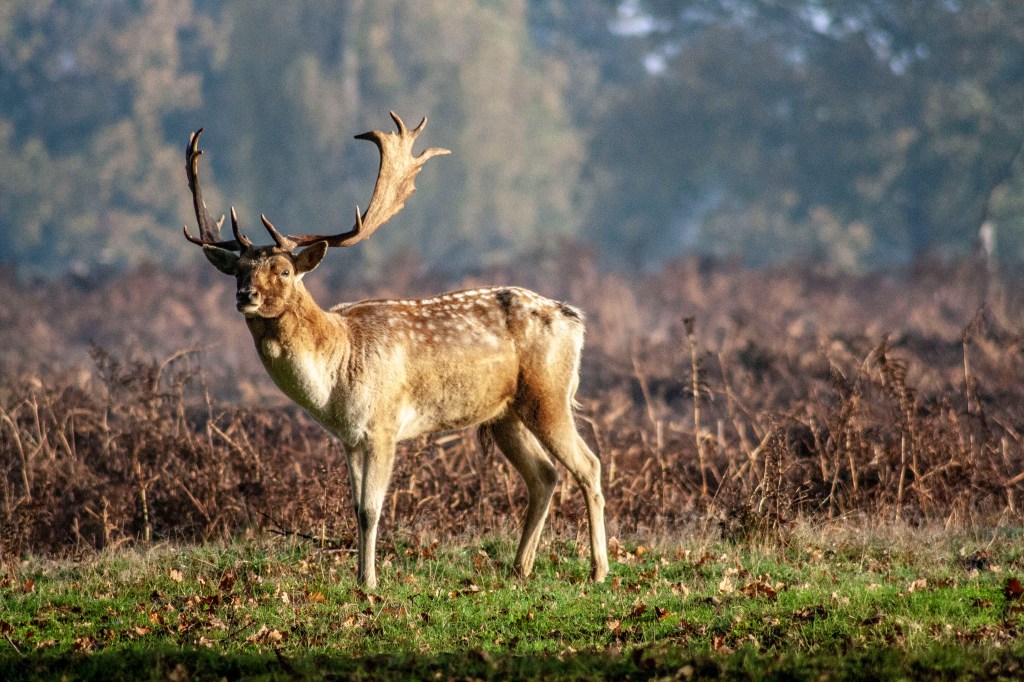
In relation to my best images, i wanted to capture the wild deer within their natural habitat, whilst capturing the detail of their surroundings. I feel that within this shoot, i accomplished that, and the images that i have produced are far better than i could have expected them to be.
A problem that I did encounter was that i wanted to get close to the subject, in order to achieve the very best images, but had to remind my self that they are wild and getting too close, especially to the stages could be very dangerous. I also did not want to put them in a position where they were scared and ran away, ruining the chances of me capturing a good photo or endangering themselves.
Personally, I have never worked in these particular whether conditions, so I thought that trial and error was the best way forward for me. This method, although making my Camera SD card fill up rather quickly, worked out for the best and allowed me to get multiple images, of the same object, with different settings, then use the most promising to go forward into the editing process.
AO2
In this shoot, i worked with a digital SLR camera (Canon EOS 1000D) and a tripod. this equptment allowed me to work with the particular setting that were needed in order to produce clear and sharp images, with the desired depth of field.
To develop my technique I experimented by photographing my subject using different angles, including being side on, head on, and low to the ground (lower than the deer was). I also explored the use of Lightroom as well as Photoshop to edit my images.
All camera settings that I used in order to take the photograph can be found below the best images at the bottom of the posts.
Within this shoot, a short exposure was used, meaning that the shutter was not held open for a long period of time, which produces an image that is sharp due to any movement that took place during the shooting of the image not being able to be seen. The f-stops that were used in this shoot were mixed, creating a variation of small aperture and large aperture images.
I think that the main problem that arrised during this shoot was the mist, and although this allowed for some of the images to become better, some when the sun came out from behind the clouds, created noise and a grain on the images. This reduced the quality of the images which is why I set out to avoid this, however, I think that on the images it has effected, it is not really a big problem due to the images themselves being correct in terms of composition and settings, this was something that was unavoidable and was not a grain that was produced by the camera as the ISOs that I used were considered quite low, but the actual object itself.
The colour within the images were shot with the most suitable white balance. The shoot, as well as every other shoot I have completed within this project, were shot in RAW format, which means that the images colour was not fully processed, allowing me to have the access to full colour reproduction. during this, I can choose to alter settings such as colour saturation and which balance.
When shooting, I chose to focus more on the deer instead of the vegetation surrounding it, as well as the field of view being enlarged in some images. this in turn improved the depth of field.
AO1
This shoot was influenced by Neil Mcintyre. I think that I have used some of his techniques, including composition, setting up my image frames as well keeping with the low saturation images. I think that some of my images are quite similar to that of Neil’s however, it is clear that every photographer has their own style.
Refining my work
i used both Lightroom and Photoshop to edit my work. i have begun to utilise Lightroom for my initial editing, when the files are still of RAW format. it allows me to have much more control over the initial editing process than what Photoshop camera RAW allows you to do.
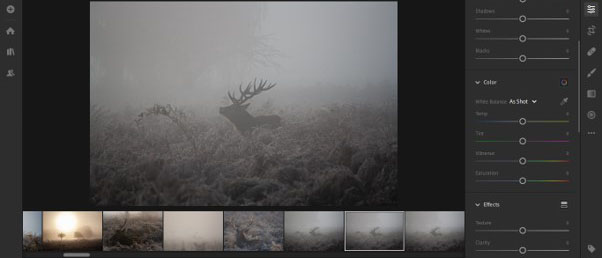
I chose to remove these plants from the final image as I thought that they were drawing to much attention from the deer itself.
AO4
Progression
In my future posts, I now wish to return back to previous locations to enable me to compare what effects the different seasons have on the landscapes. I wish to use photoshop to do this, by combining the compared images.
