Influence: George Logan
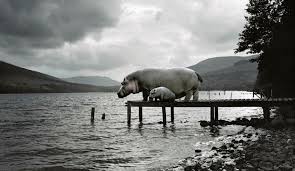
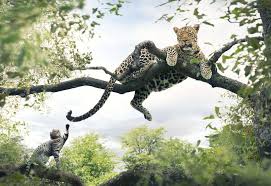
George Logan is the photographer that influenced me throughout this editing process. George Logan’s images are clearly not ‘natural’ and ‘untouched’ and are not my usual style of photography, however, Logan’s work shows such a high level of skill when it comes to both photography and editing. Although the photos would never be real, the level of editing makes it look so natural, so much so, it is impossible to tell that they weren’t real.

My images
As part of work record 8 I wanted to experiment with some images that I had previously taken.
My first idea was to merge two contrasting images together – so, I went to London for a mini shoot. This enabled me to have some images that where contrasting to the naturalistic settings of my images.
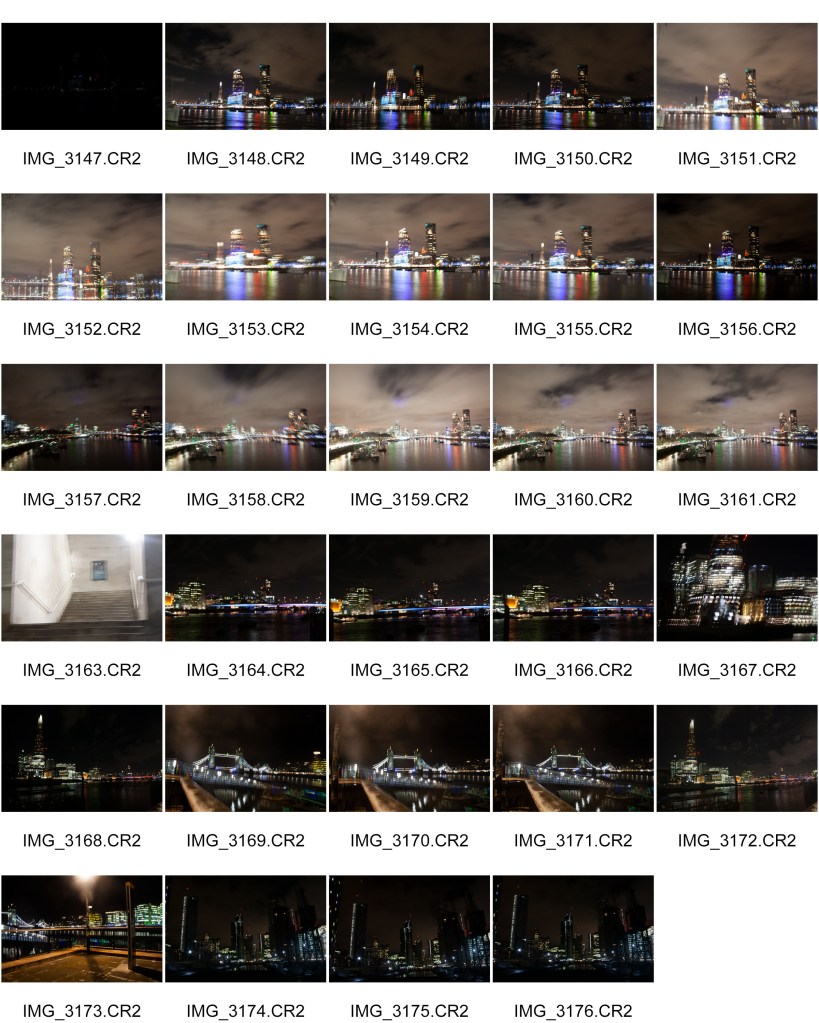
As shown throughout my entire project, nature photography is my style, so I found photography in the city of London a but of a challenge. I also wasn’t sure what kind of photos I would need to complete an edit like this as I have never done it before. however as shown in the contact sheet, there was a lot of movement, however I was using a tripod. I did however manage to get some images that are of high enough quality to be used.
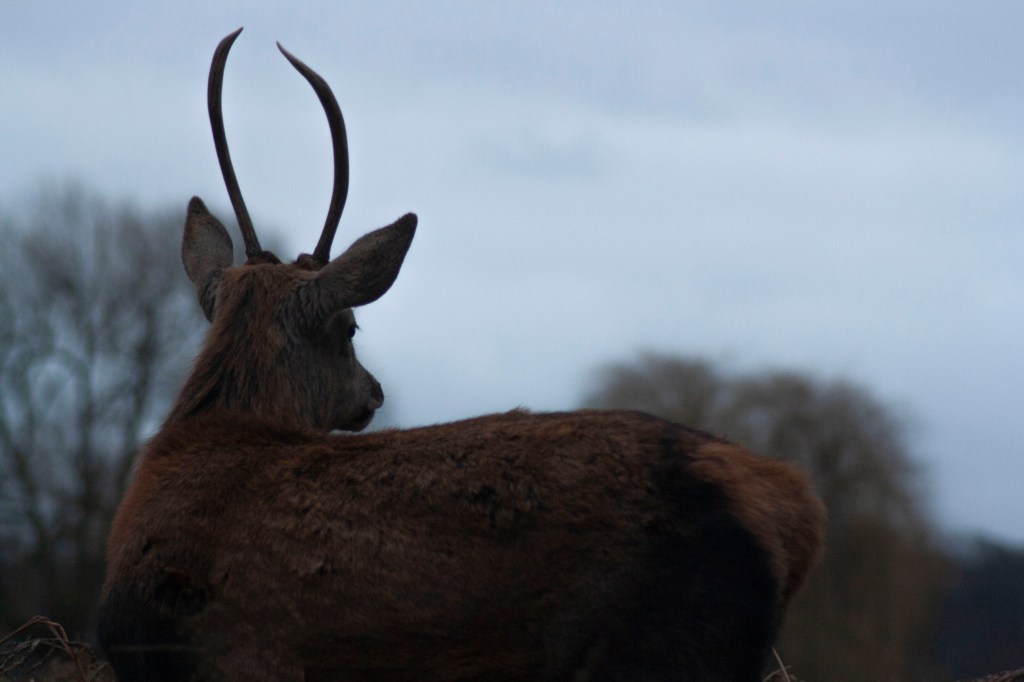
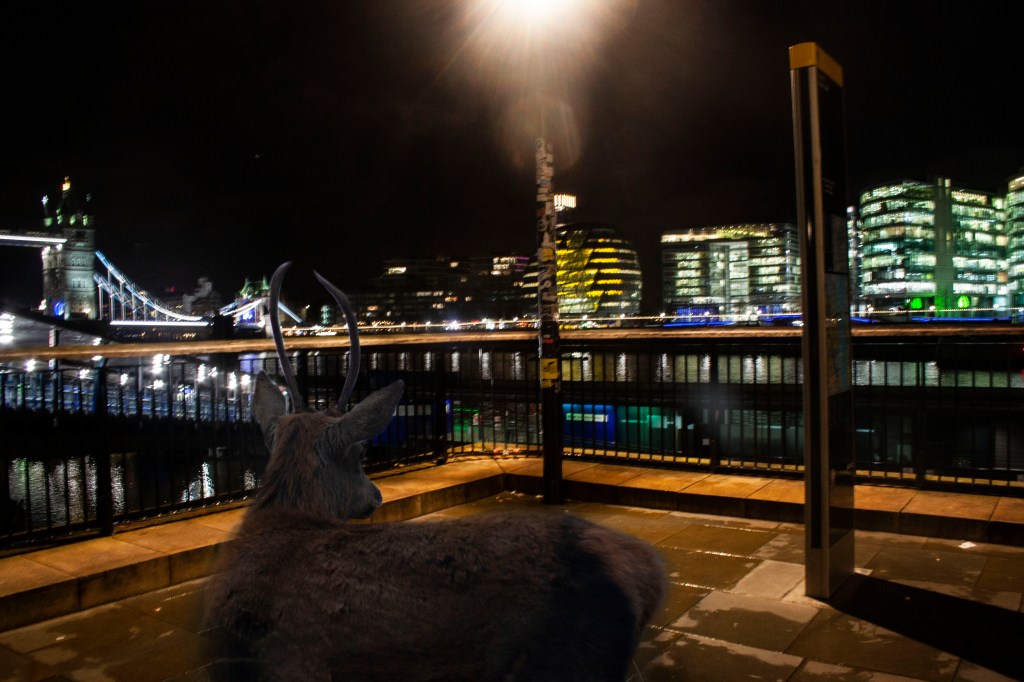
For my beginning image, I chose the one below,
As you can see from the image below, to create the final edit I created an image layer and placed the London image over the top of the Deer image. I used Layer masks throughout my entire edit which allowed me to combine the multiple images into one enabling me to remove objects that aren’t wanted. I switched between the black and white brush tool, whilst altering the size of the brushes to fine-tune the mask edge.
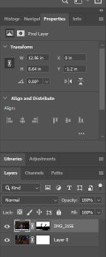
I then reduced the opacity of the London image, and selected the brush tool, by swapping between the white and black brushes, I could remove or add in little bits that I wanted to keep or remove. I frequently zoomed in and out, to assess how it looked, and by using a small brush.
Finally, I used the blur tool, as well as dodge and give to make the bottom of the image look a little softer.

I however, am not 100% sure that I like the look of this final image, I will however, try again.
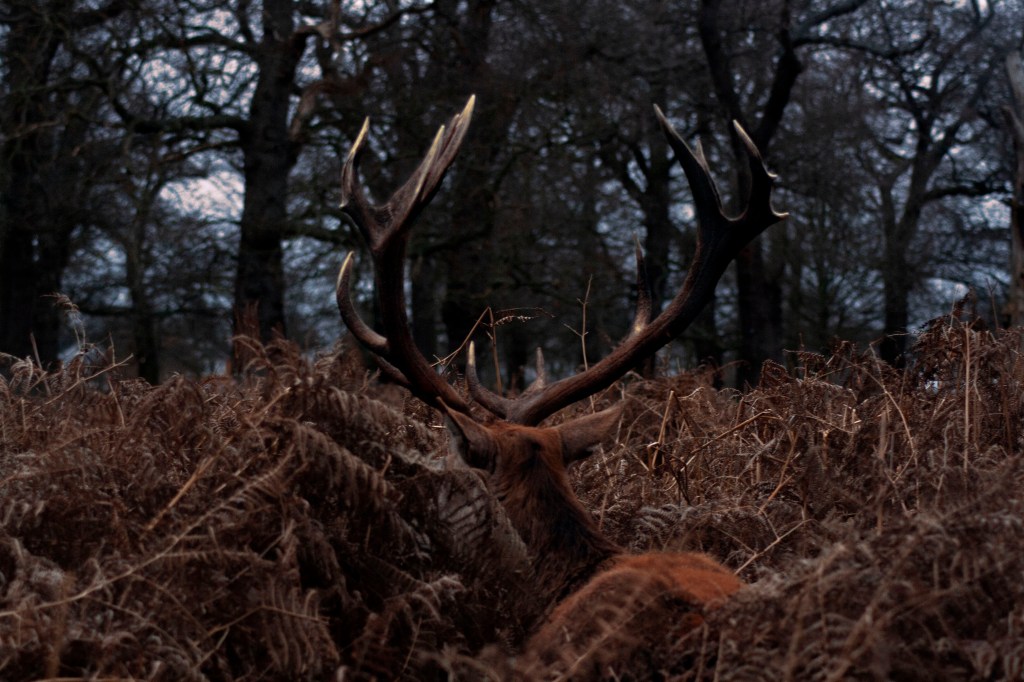
So, I repeated the process using two completely new images, one being this deer photograph from my shoot in bushy park,
I repeated the same process, using layers, changing the opacity and a little dodge and burning, and the image below was produced. Again, I used Layer masks throughout my entire edit which allowed me to combine the multiple images into one enabling me to remove objects that aren’t wanted. I switched between the black and white brush tool, whilst altering the size of the brushes to fine-tune the mask edge.
Although its not perfect, and I know that my skills when it comes to this type of editing need refining however, I feel that this final image isn’t too bad. I don’t think that it will be added into my portfolio, however, I am glad to know that my skills have improved slightly from my first attempt.
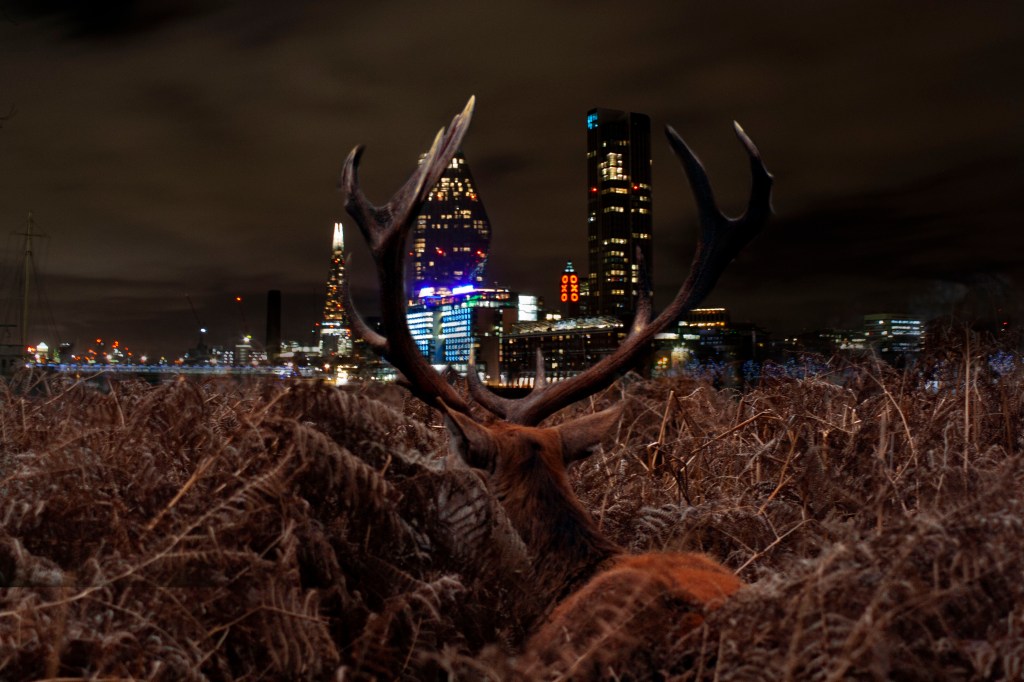
I think that this image in influenced by George Logan, where he Photoshops in animals into places where they are out of place, as I have done here. I think that my second image is a much better example of my skill whilst using photoshop to manipulate my images however, I am fully aware that improvements can be made. this being said, I think that through my project, an improvement can be seen already.
